
Create and Manage Workspaces

Workspaces allow you to organize websites, brands, and customers in Tango.ad. Each workspace has its own campaigns, analytics, domains, integrations, and settings.
This article explains how to create a workspace and manage its details and resources.

Before You Begin
Before creating a workspace, make sure you have:
- An active Tango.ad account.
- The website or domain you want to manage.
- A descriptive name for the workspace.
Step 1: Open the Customers Section
- Sign in to Tango.ad.
- Navigate to Customers from the main menu.
- Review the workspaces available to your account.

Step 2: Create a New Workspace
- Click + New customer in the top-right corner.
- Enter a name for the workspace.
- Complete the required fields.
- Click Create to save the workspace.
Use a descriptive name to identify the website, brand, or customer easily.
Examples:
- My Online Store
- Fashion Brand EU
- Demo Website

Step 3: Configure Your Workspace
After creating the workspace, configure the resources needed to run your campaigns.
You can configure your workspace by completing the following tasks:
- Add a domain: Configure the website associated with the workspace.
- Install the tracking script: Enable visitor tracking and campaign data collection.
- Create campaigns: Build and publish campaigns for your website.
- Set up workflows: Configure campaign triggers, conditions, and actions.
- Configure AI features: Set up the available AI-powered features.
- Connect integrations: Connect supported marketing platforms and other services.
Refer to the related articles below for detailed instructions on each configuration.
Step 4: Manage Existing Workspaces
Open the Customers page and select the workspace you want to manage. Use the available options to manage its details and resources, including:
- Viewing workspace details.
- Renaming the workspace.
- Updating workspace settings.
- Managing associated domains.
- Accessing campaigns and analytics.
Workspace actions depend on the options available in the interface and your account permissions.

Frequently Asked Questions
Open the Customers page and select the workspace you want to manage. Use the available options to manage its details and resources, including:
- Viewing workspace details.
- Renaming the workspace.
- Updating workspace settings.
- Managing associated domains.
- Accessing campaigns and analytics.
Workspace actions depend on the options available in the interface and your account permissions.
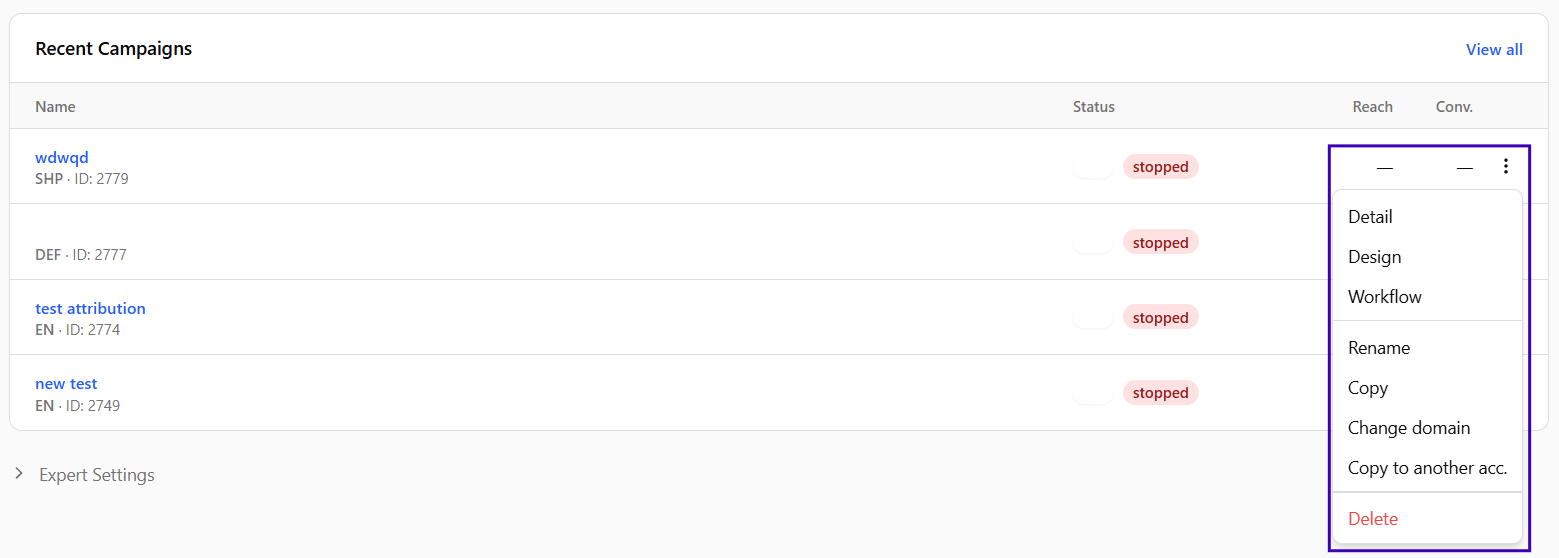
Workspace management options
Frequently Asked Questions
How many workspaces can I create?
- Your workspace limit depends on your Tango.ad subscription and account configuration. Check your current plan or contact Tango.ad Support to confirm the limit for your account.
Can campaigns be shared between workspaces?
- Campaigns and other workspace-specific resources are managed separately. To use a campaign in another workspace, check whether the available campaign management options support duplicating or recreating it.
Can multiple users access the same workspace?
- Workspace access depends on the user management features and permissions configured for your account. Check the available member and workspace settings to determine how access is managed.
Related Articles
- Customers (Workspaces) Overview — Learn about workspaces, accessing them, and switching between them.
- Set Up Your Workspace
- Manage Domains
- Install the Tracking Script
- Campaigns Overview
- Workflow Editor Overview
- Analytics Overview
- Integration Hub Overview